How to insert and adjust images in Microsoft Word

To create a simple handout that only needs a few visuals or maybe a basic flyer, Microsoft Word can be your go-to. However, putting an image into Microsoft Word exactly how you have it in your head can be difficult if you don’t know exactly how. Getting the images in can be handled a few ways depending on how you want it to look with your text. Once it’s in place, you can even change the size and angle of the image. Read on to learn more.
Table of Contents
Inserting an image into Microsoft Word
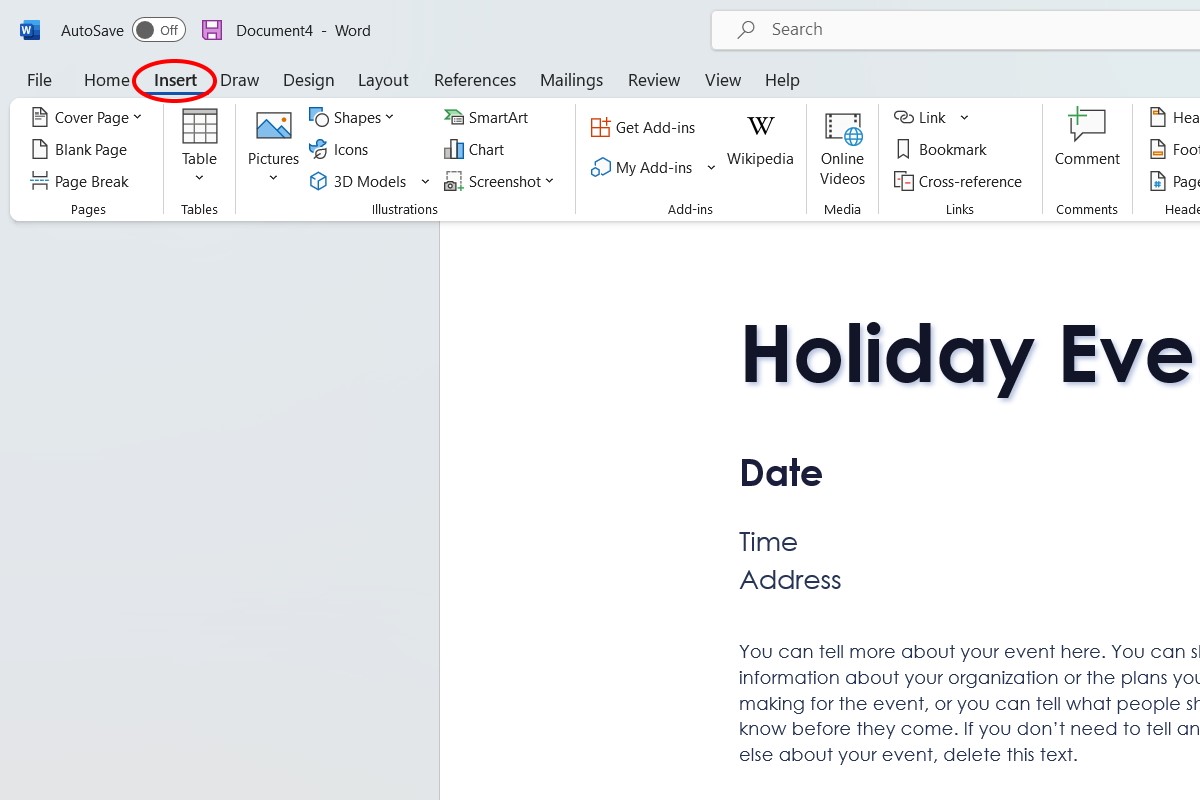
Place your cursor where you’d like your image to go and left click. Then go to the Insert tab at the top of Microsoft Word.
IDG / Alex Huebner
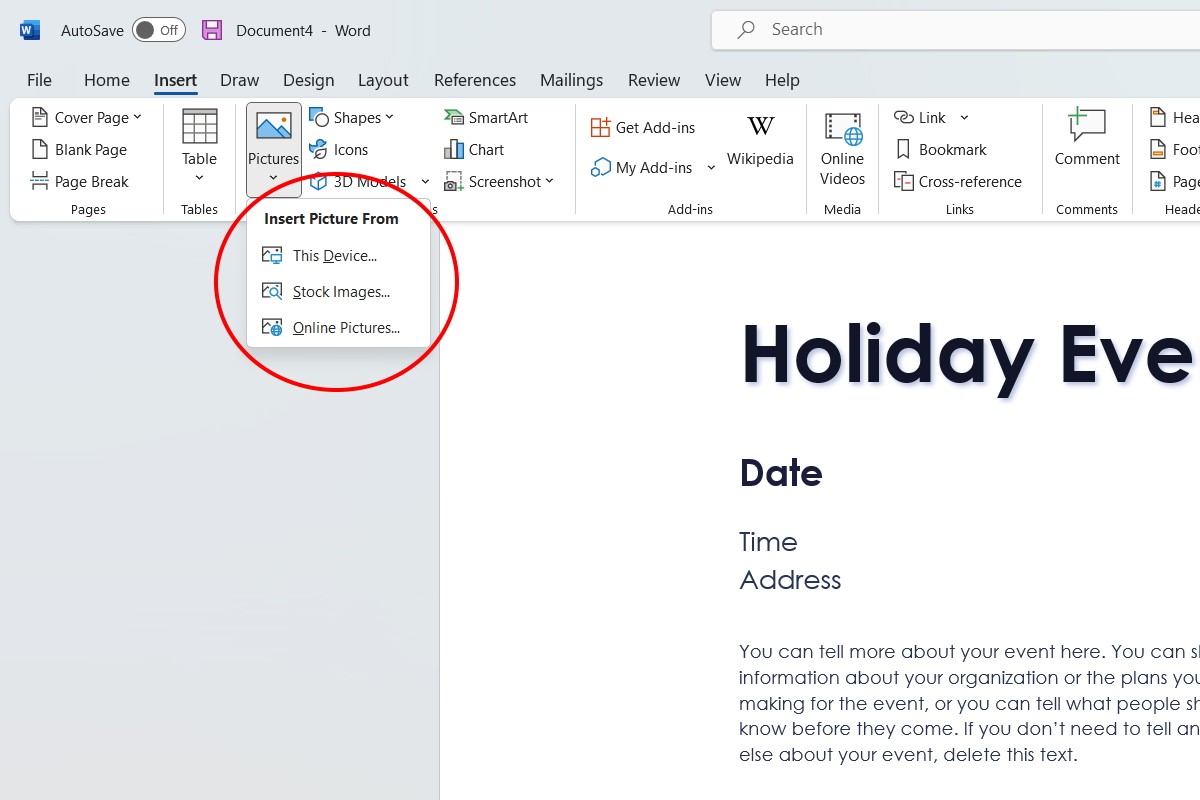
In the Insert tab, there’s an Illustrations section where you will select Pictures. This will bring a dropdown of options for you to choose from.
If you don’t already have an image in mind, you can use the Insert Picture From choices of Stock Images or Online Pictures. Once you click, a search box will pop up and stock images pulls from a library of photos available through Microsoft while online pictures pulls from a Bing search. Simply type in some keywords for the image you’d like and choose the one you like best.
IDG / Alex Huebner
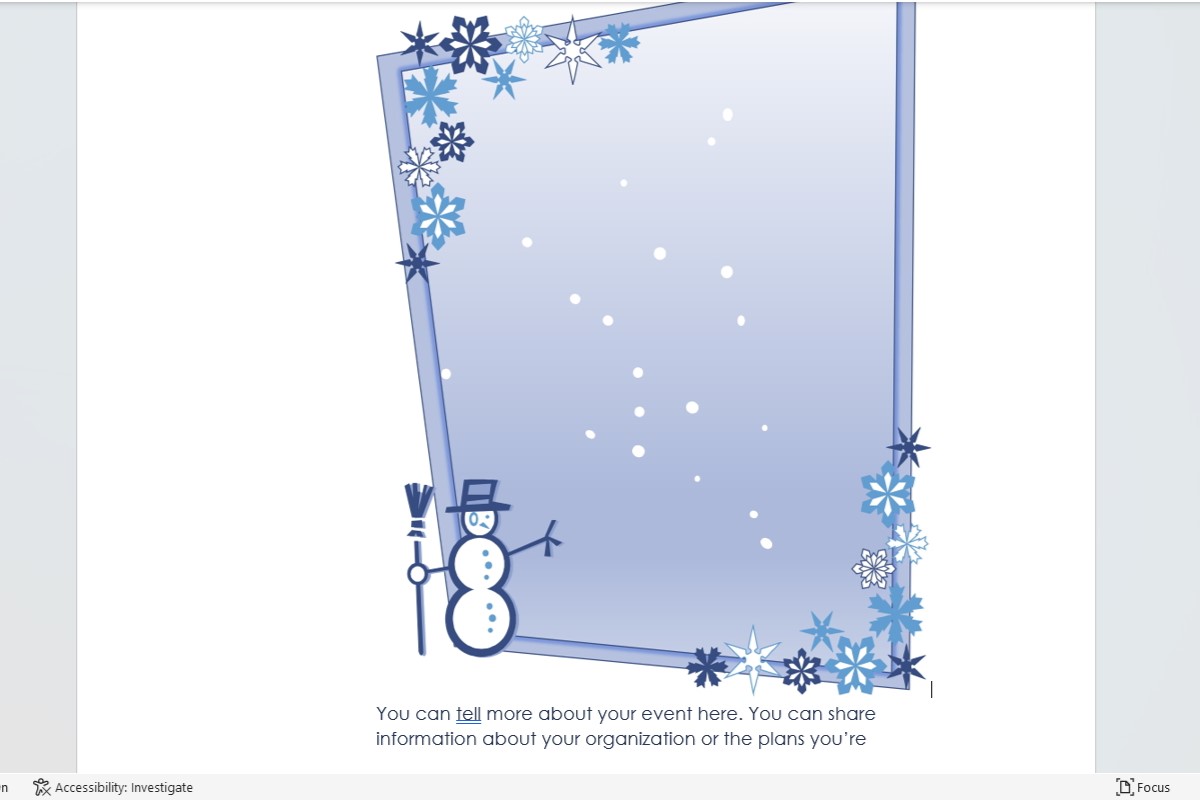
To insert a photo of your own from your device, click This Device instead and your File Explorer will pop up. Choose your photo and it will appear where you clicked your cursor within the document. By default, your image will be placed in line with the text. This means the image will act just like text, pushing the rest of the words after the cursor next to and below it.
IDG / Alex Huebner
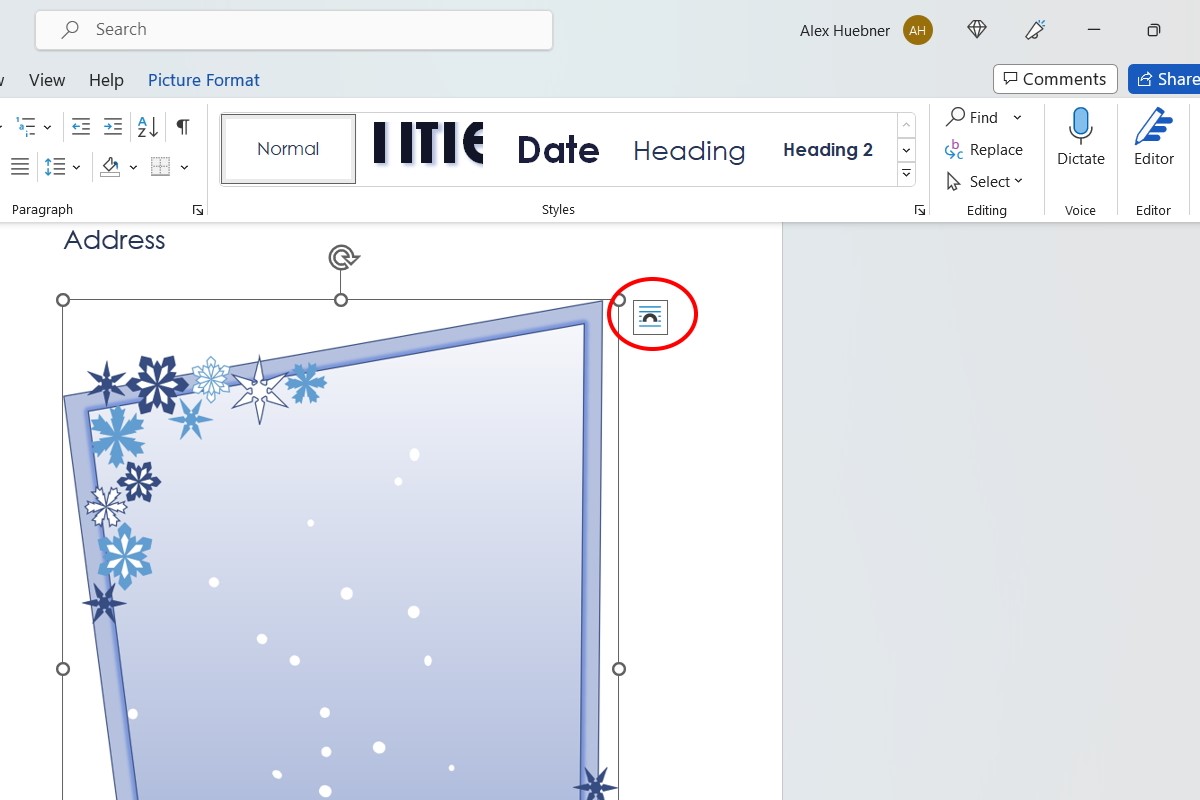
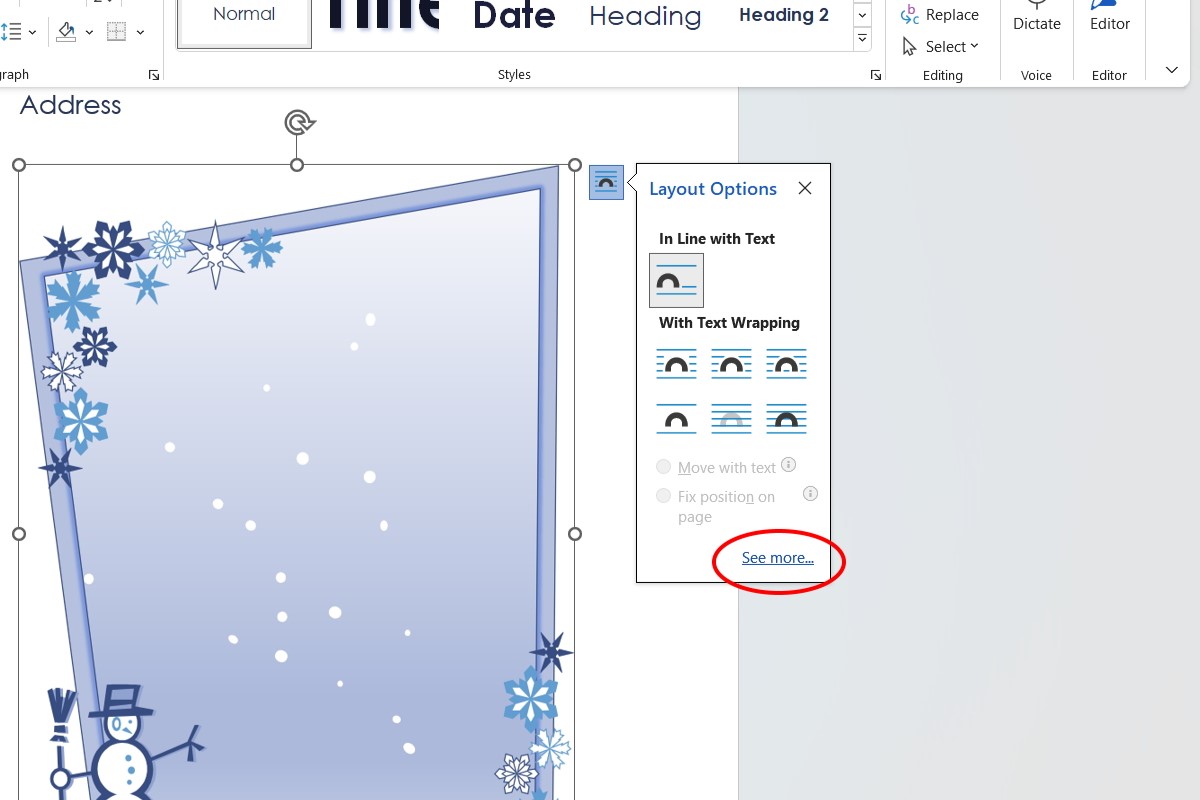
To change this, left click the image and a Layout Options box will appear to the right of it.
IDG / Alex Huebner
Hover over each icon to see the names of each layout and choose the one that matches your goal. If you’d like to see all the ways you can change the layout, select See more at the bottom of the menu.
IDG / Alex Huebner
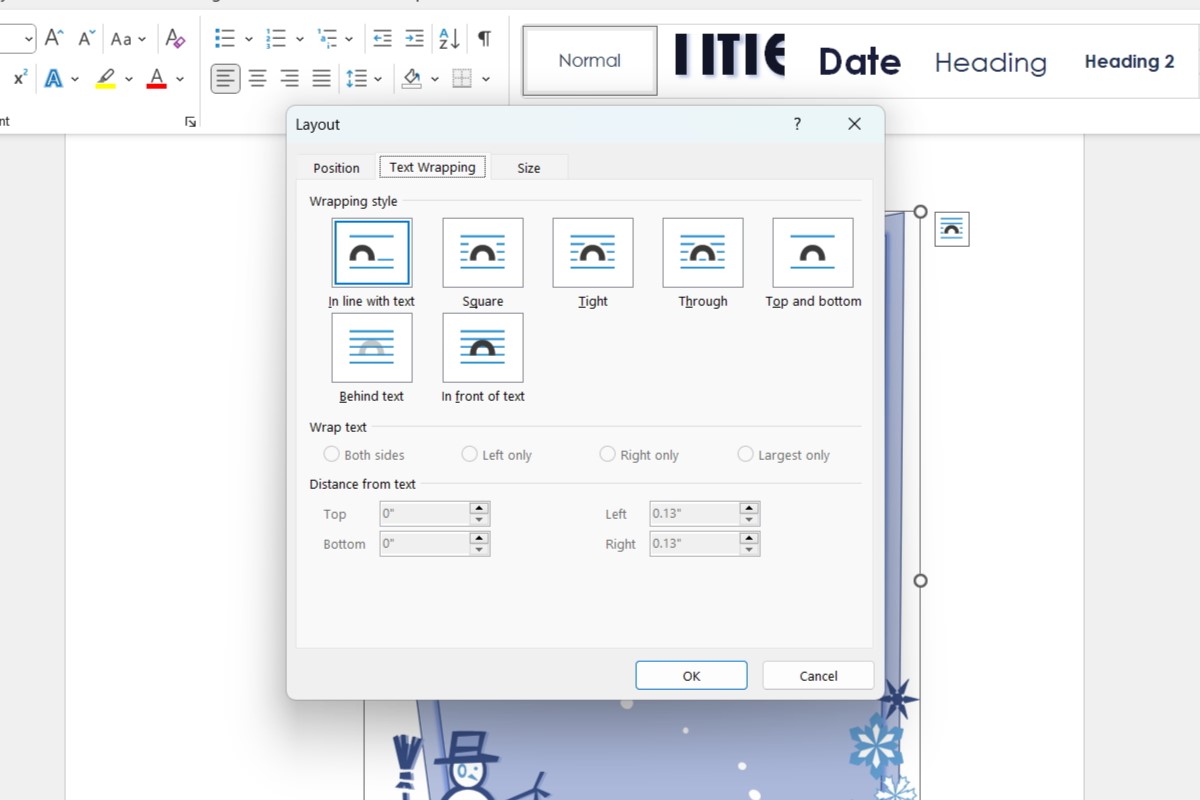
A Layout box will pop up with options for position, text wrapping, and size.
Text wrapping will determine how the image appears within the text. Square will make it so the text makes your image form a square with the text around it. Tight means the very edges of your photo will have text as close to it as possible. This is most effective with PNG images or photos without traditional borders. Through will be similar to tight but will also fill in gaps in the middle of your image. Top and bottom makes your image its own line, meaning text will not be beside the image at all and will have space before and after its placement.
Behind text makes your image serve as more of a background. In front of text will place the image over any words you have in the document without moving them, obstructing them.
IDG / Alex Huebner
Adjusting an image in Microsoft Word
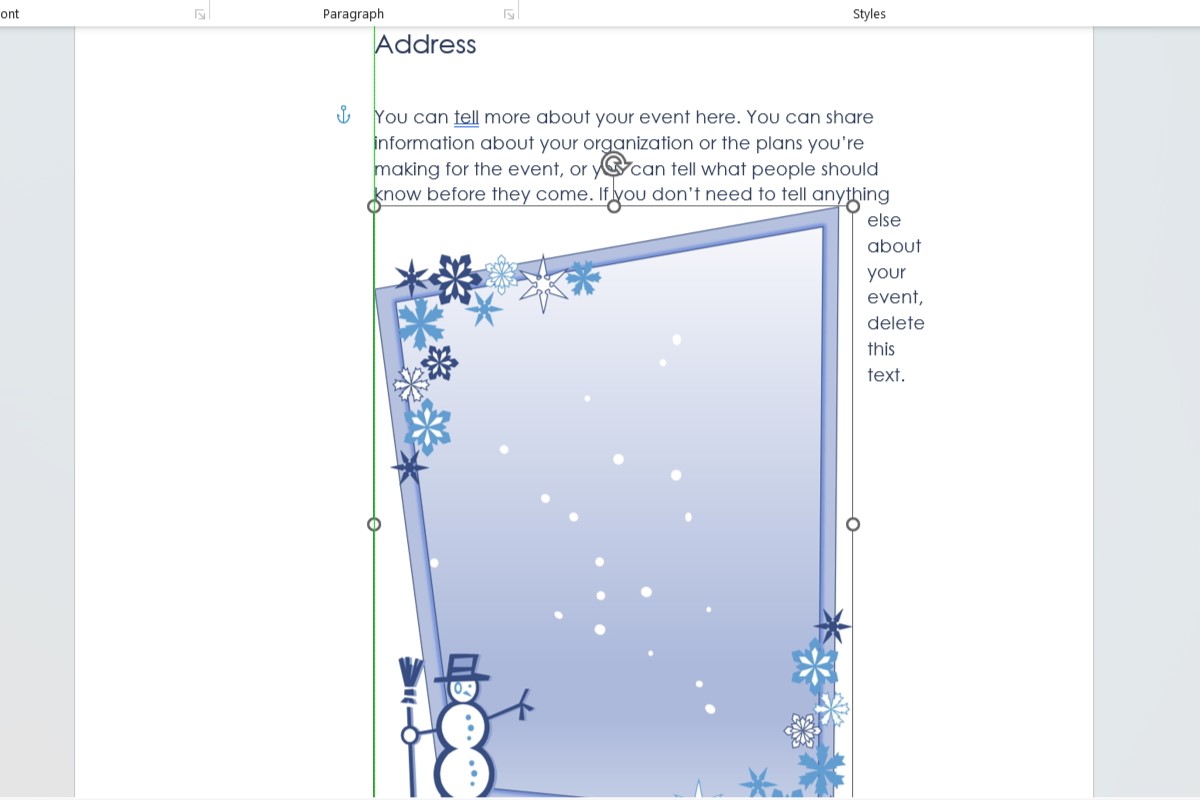
You aren’t stuck with the image size as it is inserted. When you click an image in a Word document, a box with circles along the line appears. The circles at the top and bottom will make the image vertically taller or shorter. The ones on the left and right will bring it in horizontally, making it thinner or wider. In the corners, you can keep the image ratio the same and pull the image thinner or wider and taller or shorter at the same time. Just left click the circle that will adjust the image the way you’d like and hold the mouse button down while you drag in the desired direction.
IDG / Alex Huebner
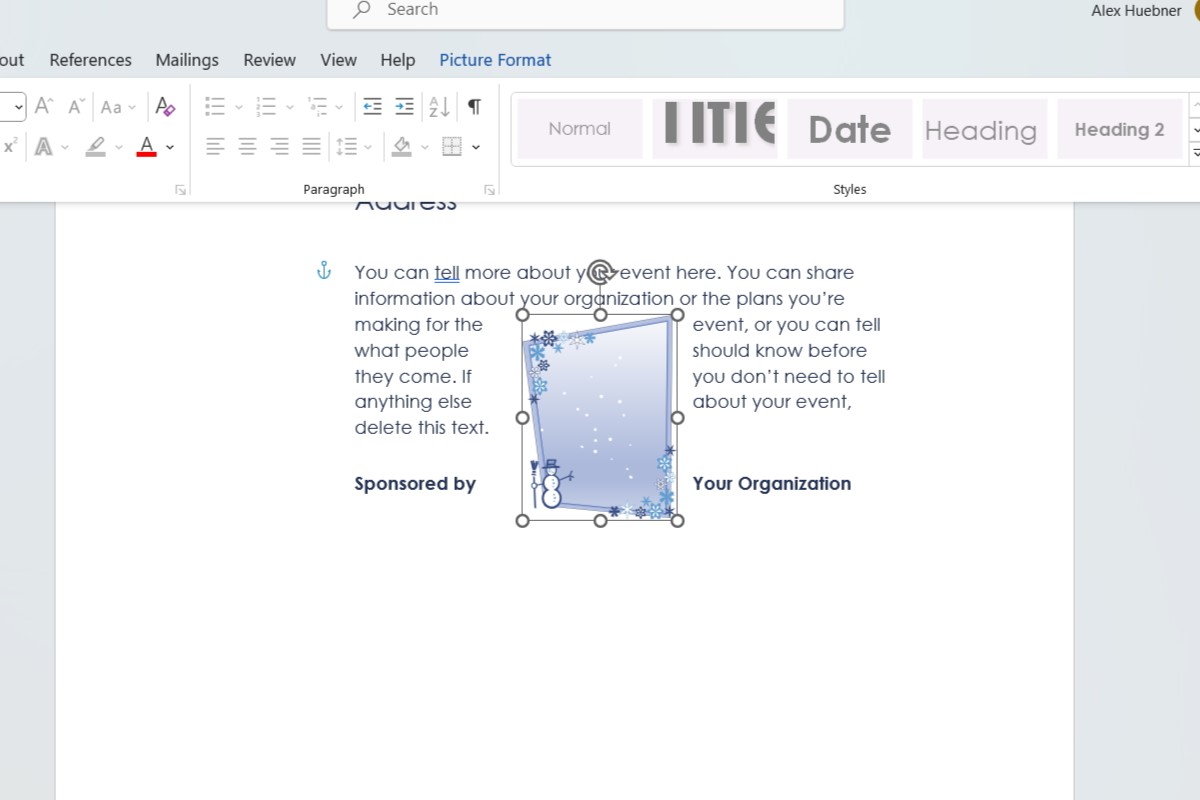
Once it’s the size you’d like, if you’d like to move it you will need to left click the image. While your cursor is a white arrow with four black arrows in all directions underneath, left click and hold while dragging it to the new location on the document.
IDG / Alex Huebner


/cdn.vox-cdn.com/uploads/chorus_asset/file/25547597/Screen_Shot_2024_07_26_at_3.55.30_PM.png)
/cdn.vox-cdn.com/uploads/chorus_asset/file/25547483/SDCCTrailer_FrameGrabs_Galadriel_01.jpg)


